
Use the Billing Settings screen to review your incremental charges, manage your account balance, store credit card information, and download transaction information and monthly statements. This screen contains tiles you click to configure the following categories of settings:
- Subscriptions
- Balance
- Recharge
- Credit Cards
- Payments
- Statements
- RTB Utilization
This feature is available to admin users. This feature is included in all Ringba subscription plans: Business, Professional, and Enterprise.
This article contains the following sections:
Billing Settings Screen
You navigate to the Billing Settings screen by clicking Settings > Billing Settings.
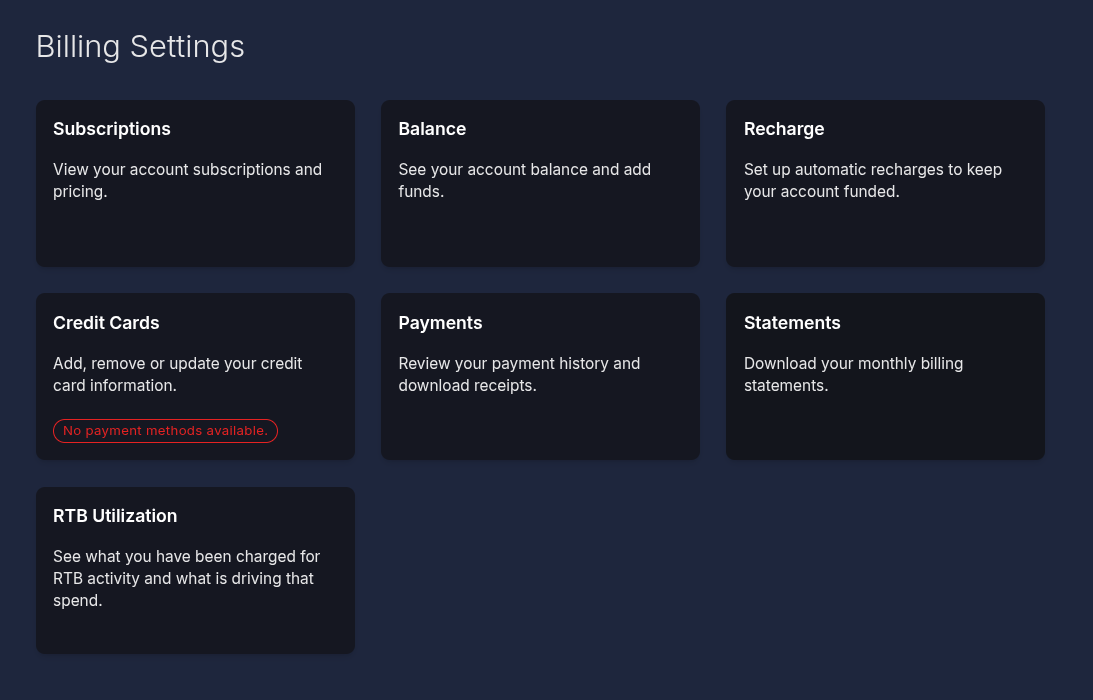
Click a tile to open the screen where you configure the settings.
Subscriptions Screen
Use the Subscriptions screen to view your current Ringba subscription plan as well as pricing for features you use.
Click View Pricing in any of the rows to open the drawer with more details.
Note: Some incremental costs, such as the surcharge to connect to targets outside the U.S. or Canada do not appear on this screen. The per-minute cost to connect calls to a target that is not in the U.S. or Canada appears on the Targets > Manage Targets screen.
Balance Screen
Use the Balance screen to see your current account balance and add funds. You need a balance of funds in Ringba to cover day-to-day costs. Ringba uses the balance in this account to cover incremental costs, like call minutes and call transcription, and other fees like TCPA Shield requests.
Click Add Funds to manually add funds to your account.
Recharge Screen
Use the Recharge screen to set up automatic recharges to keep your account funded.
In addition to adding funds manually in the Account Balance section, you can use the Recharge Settings section to enable automated recharges. Toggle on the Auto Recharge switch to prevent the hassle of service disruptions when your account runs low.
When your balance falls below the value you set in the Recharge Below field, Ringba automatically charges your default credit card for the amount you set in the Recharge Amount field.
Credit Cards Screen
Use the Credit Cards screen to add, remove, or update your credit card information. Ringba uses this information for the automated recharges you set up and for your own convenience when manually recharging your account.
Having a credit card on file also helps Ringba verify your identity, which is important to protect everyone from fraud and abuse.
Payments Screen
Use the Payments screen to review your payment history and download receipts. This screen contains a table with a row for each transaction.
It contains the following columns:
- Date: The date and time of the transaction.
- Description: The nature of the transaction.
- Amount: The amount of the transaction.
- Type: Indicates the payment type.
- Card Number: The credit card number with all digits but the last 4 masked.
- Receipt: An icon you can click to download a PDF of the transaction receipt.
- Actions: Contains a link you can use to download the receipt associated with the transaction in this row.
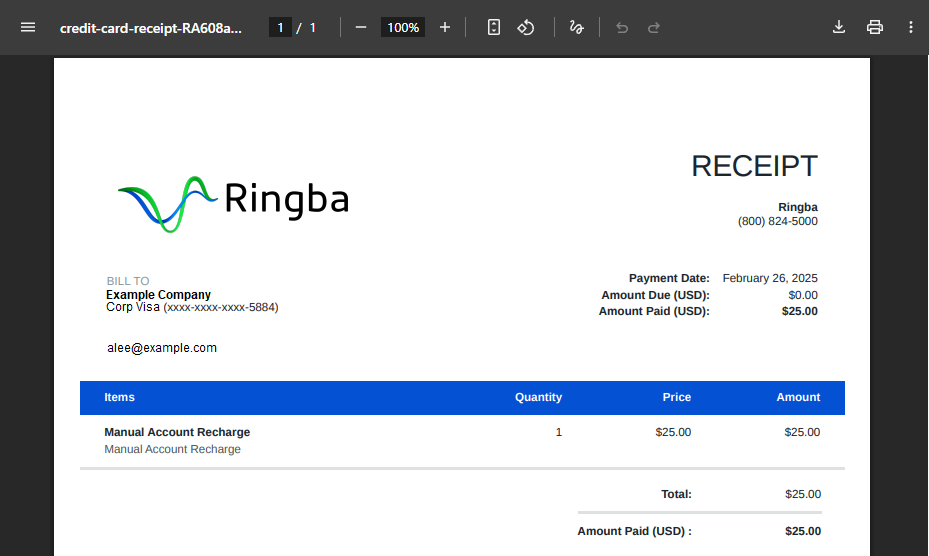
Click Download link in the Actions column to download a PDF of the transaction receipt. A receipt similar to the following appears:
Statements Screen
Use the Statements screen to download your monthly billing statements. This screen contains a table with a row for each month when you have had transactions with Ringba.
Click Download link in the Actions column to download a PDF of the statement. The PDF contains records of everything you were charged for during the month, including items that aren't in the Payments screen, such as Instant Caller Profile usage and number rental fees.A statement similar to the following appears:
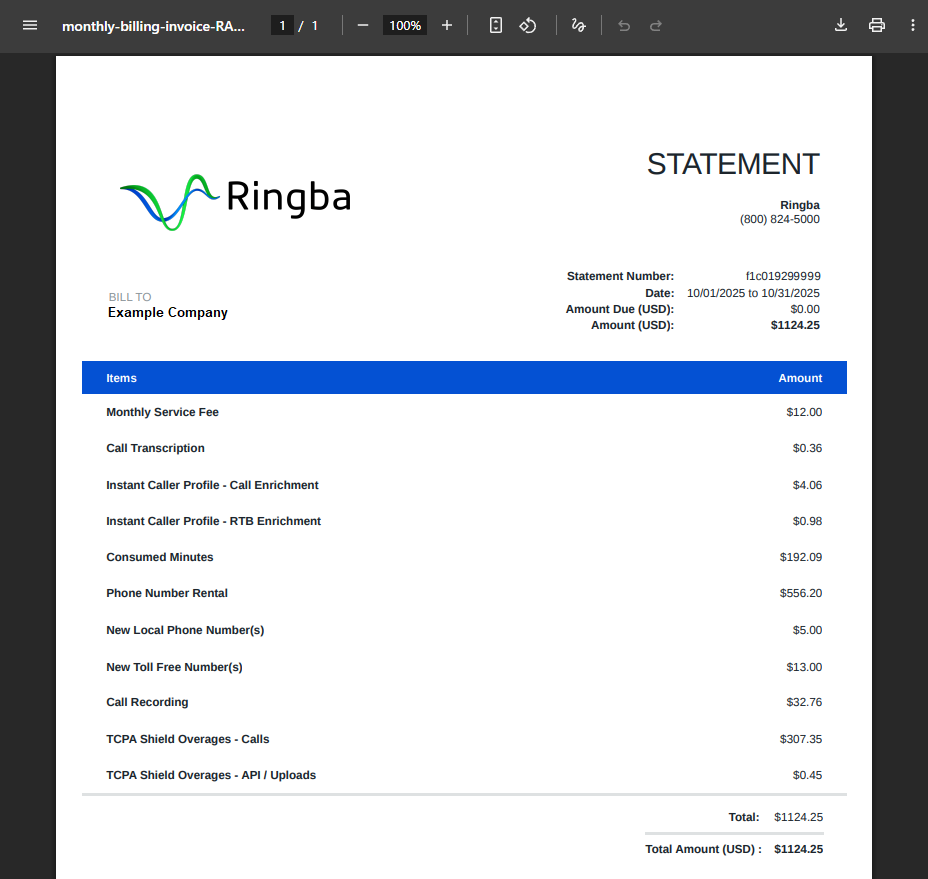
Monthly statements appear on the 4th of the following month. For example, the statement for March appears on April 4. This three-day gap after month-end is intentional to give all transactions time to finish processing before generating the statement.
RTB Utilization Screen
Use the RTB Utilization screen to see what you have been charged for Real Time Bidding activity and what is driving that spend.
The RTB Utilization screen has its own article in this knowledge base. See RTB Utilization for full details.
Verifying Billing Information
You must verify your billing information by uploading identity verification documents that match your payment info.
To verify your information:
- Navigate to Settings > Billing Settings.
- Go to Credit Cards and click Verify.
- Upload the required documents and click Save.
You will also be prompted to verify your billing information once logged into Ringba.
Note: It is important to upload the required verification documents or your service may be disrupted if the system is unable to bill your card.
Billing Settings FAQ
How can I generate PDF statements?
You can generate a monthly statement of your transactions with Ringba by clicking the Statements tile. Just click the download icon for the month you want to see. Ringba downloads a PDF to your browser's downloads folder.
How can I customize the PDF statements I download?
The only part of the PDF statement that is customizable is the company name that appears under BILL TO:
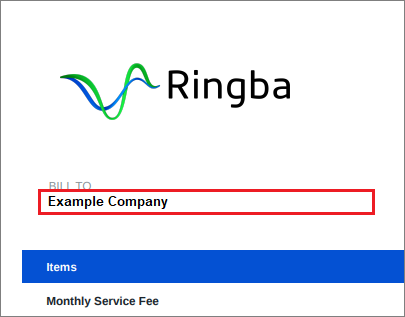
You can update the company name by following these steps:
- Navigate to Settings > Account Details.
- Enter the value you want to appear on the PDF statement in the Company field and click Save.
Can I have statements sent to me automatically?
No. You must sign in to Ringba and download the statements from the Billing Settings screen.
What if I still need help?
If you have any questions or need additional help, please reach out to our support team via chat or email at support@ringba.com.